 |
|
|
[ previous | next ]
[ home | sign my guestbook | view guestbook | e-mail me ]
|
|
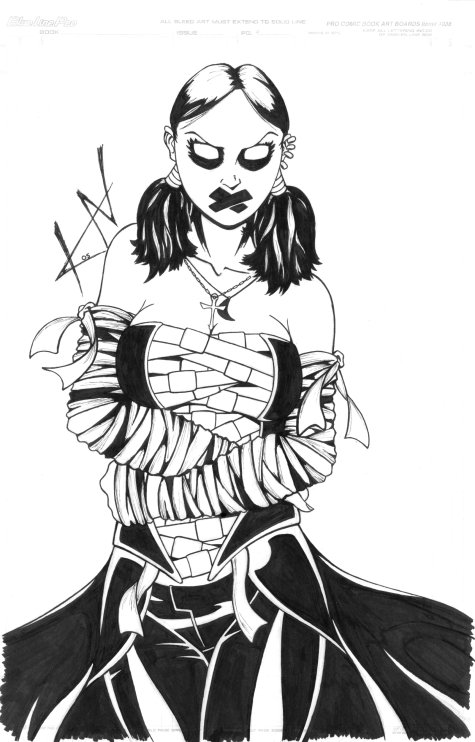
step 8
Finished! The last step for me is always cleaning up the image digitally. I use Paint Shop Pro, because it's much cheaper than Photoshop. Plus for what I need, it's easier to use and just as powerful. I took out as many of the speckles as I could and cranked up the brightness and the contrast to get rid of the last of the pencil marks. Then I use the gamma correction to make the ink blacker and more uniform.
Start to finish this picture took two and a half days.Even though I had to change the angle of her face, I'm thrilled with how it turned out.
|
